- Download SASE agent as explained here.
- Then install and configure SASE agent.
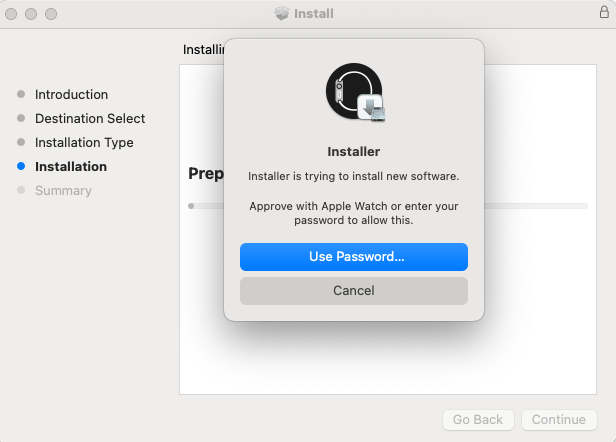
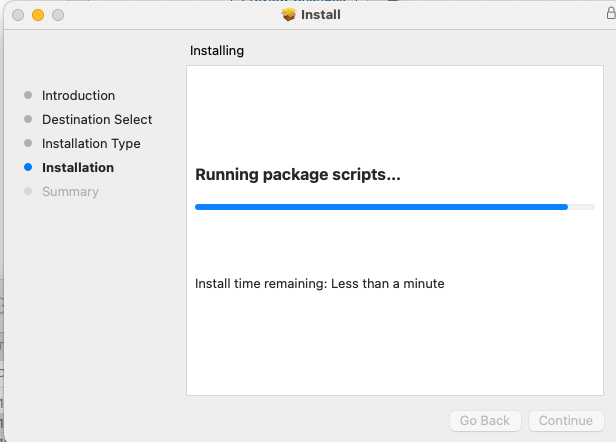
- Run the installer:


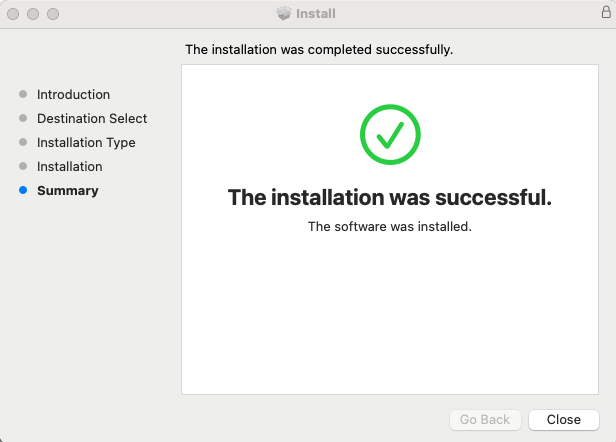
At the end of the installation, click Close and then Move to Trash:

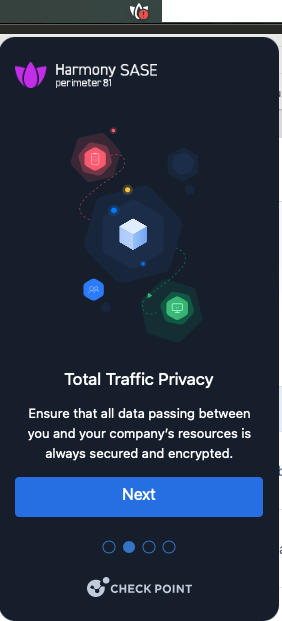
- After the installation Harmory SASE Agent will open automatically from top menu.
Click on Next button 3 times and then Finish:


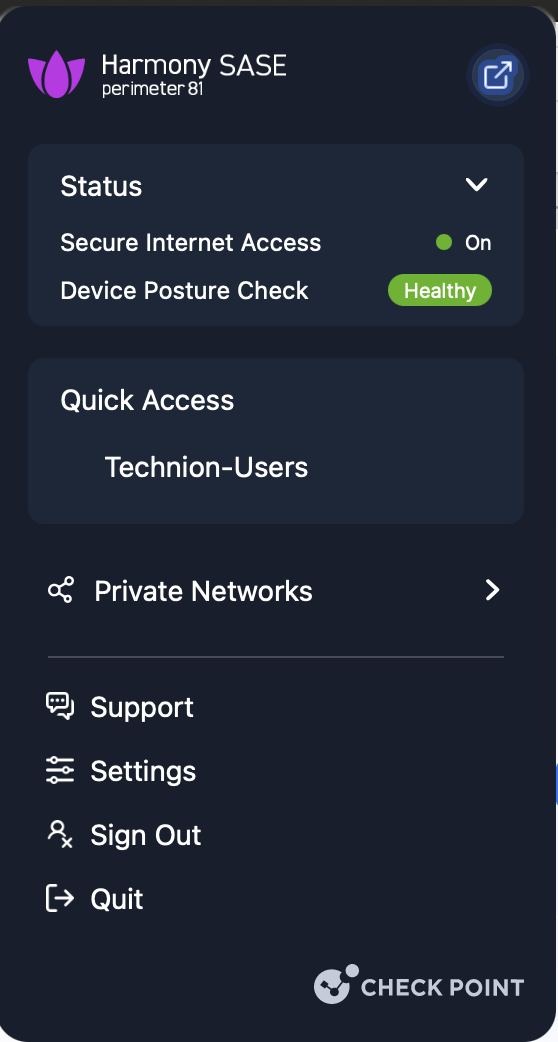
Then click on small arrow in top right corner as shown on picture below:

- Expanded version of the SASE agent will be opened:

- Click on Sign In to Private Access button.
- Default browser will open a page for signing in.
If you will be asked for workspace URL, fill technion in input box and choose EU Data Residency as a workspace domain:
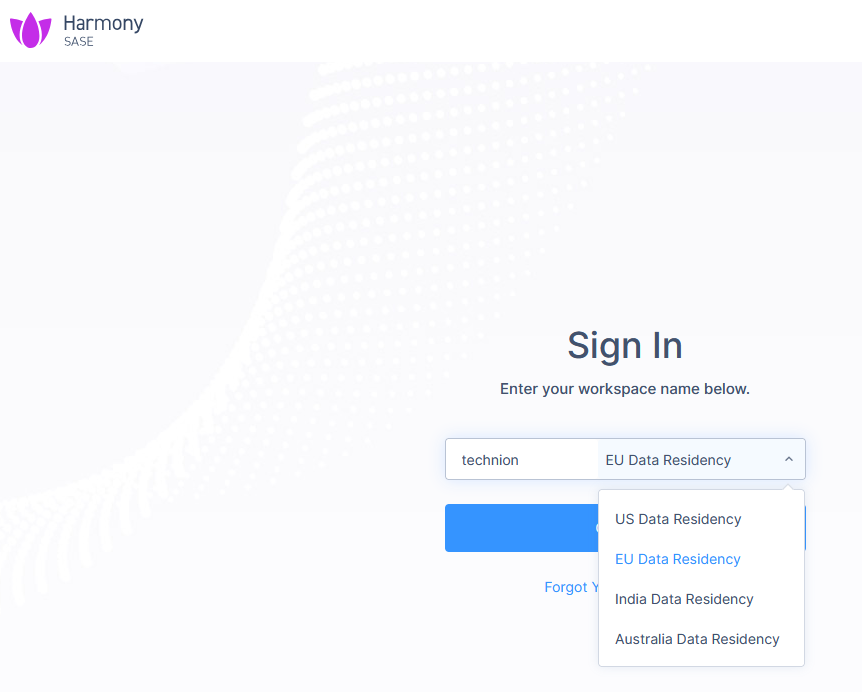
then click Continue button. - Click on Connect and authenticate yourself as you do it for Technion Office 365 account.
- Then Always Allow:

and OK:

Enter your macOS username and password and click on Update Settings:

- SASE agent opens and continue connecting to the SASE service:
- Or in big version:

- Now you are connected to the SASE service (you can see your name in the top right corner) so simply click Connect button to connect to the Technion LAN:
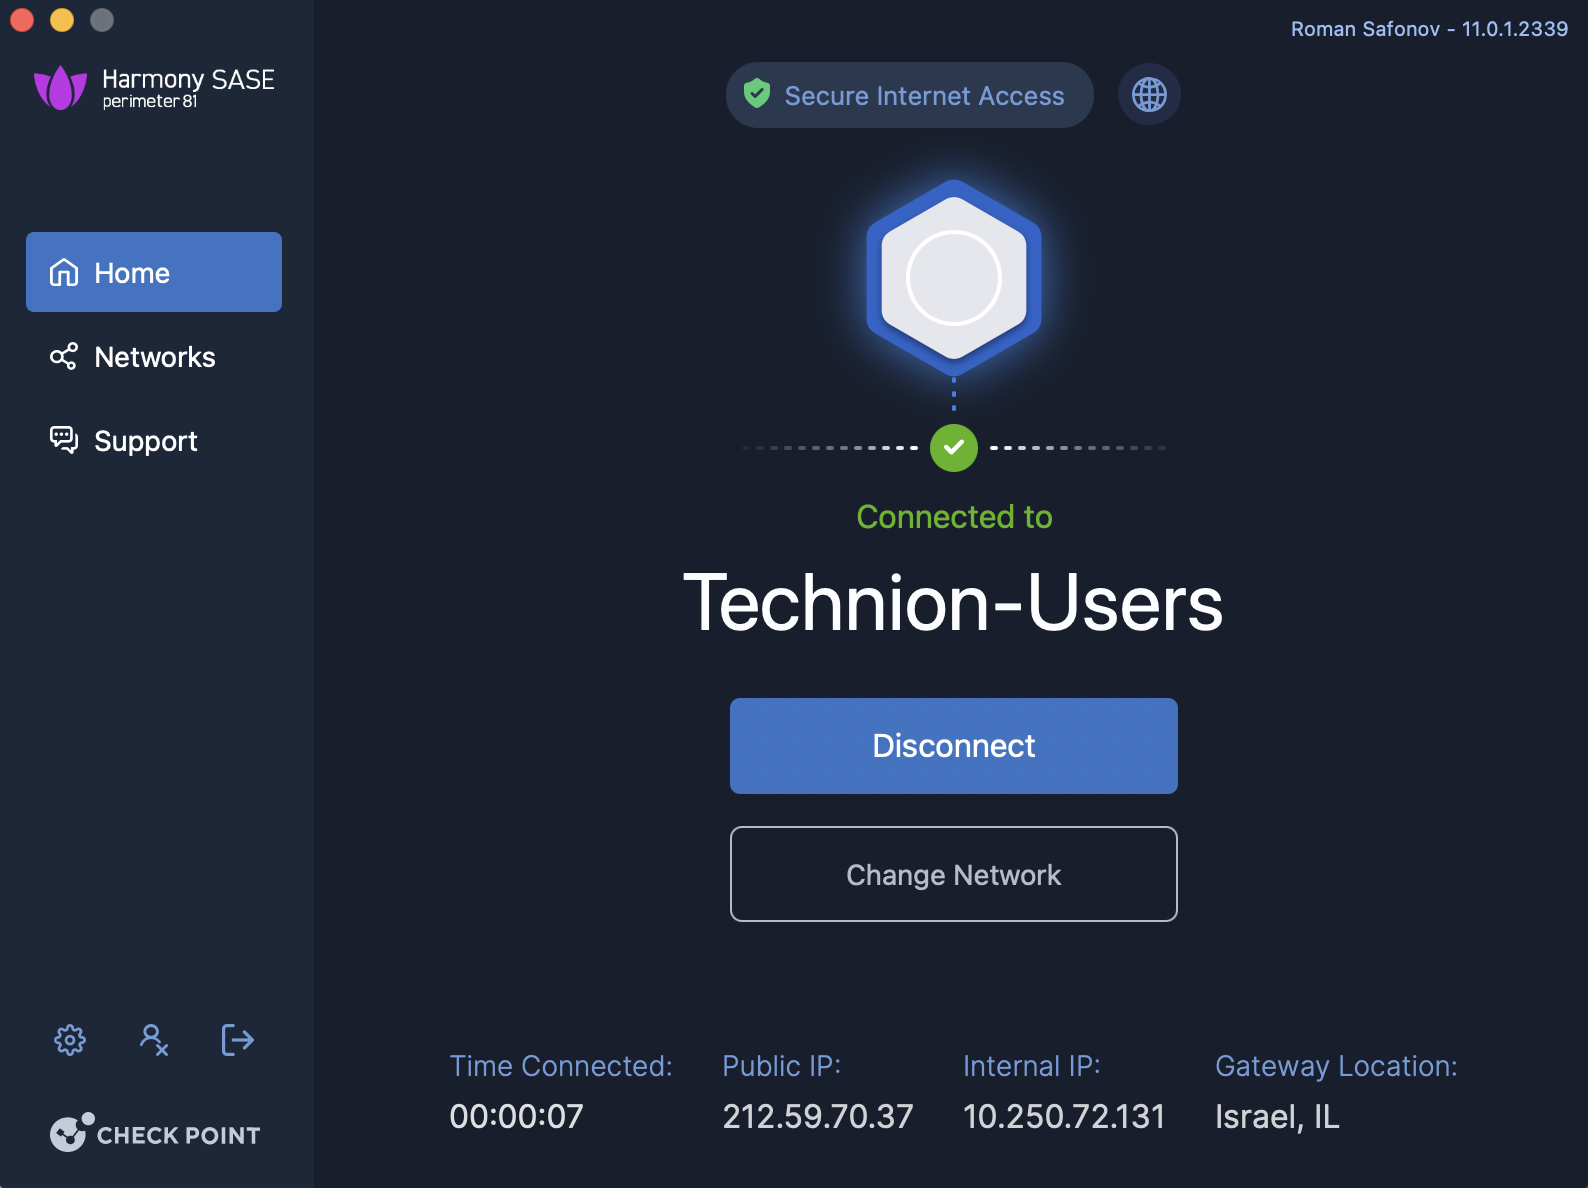
- As you see, now you are connected to the Technion LAN and can access internal resources.