Manual configuration of WiFi connection to TechSec for Windows 11
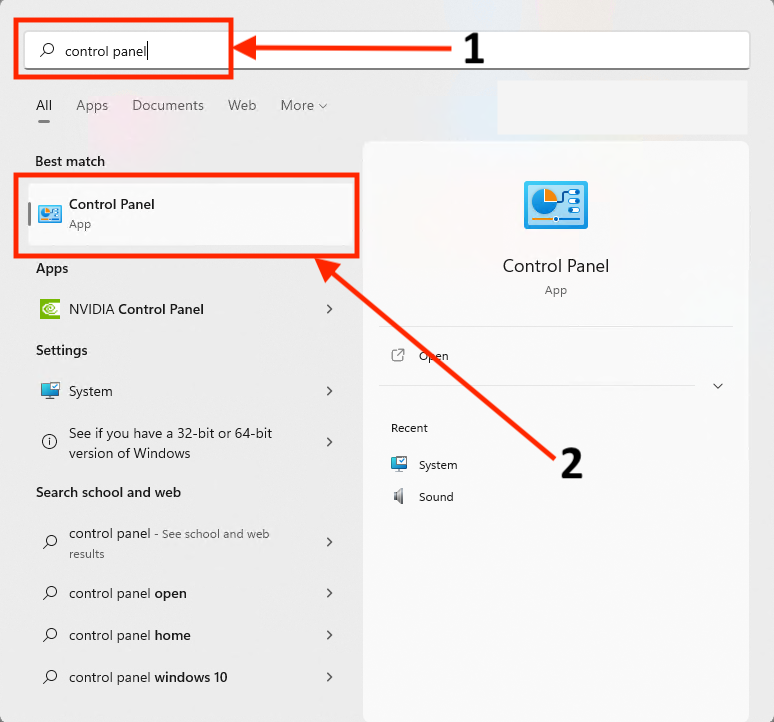
- Open legacy Control Panel by searching ‘control panel’ in Windows 11 Search field(1) and then click on Control Panel icon(2):
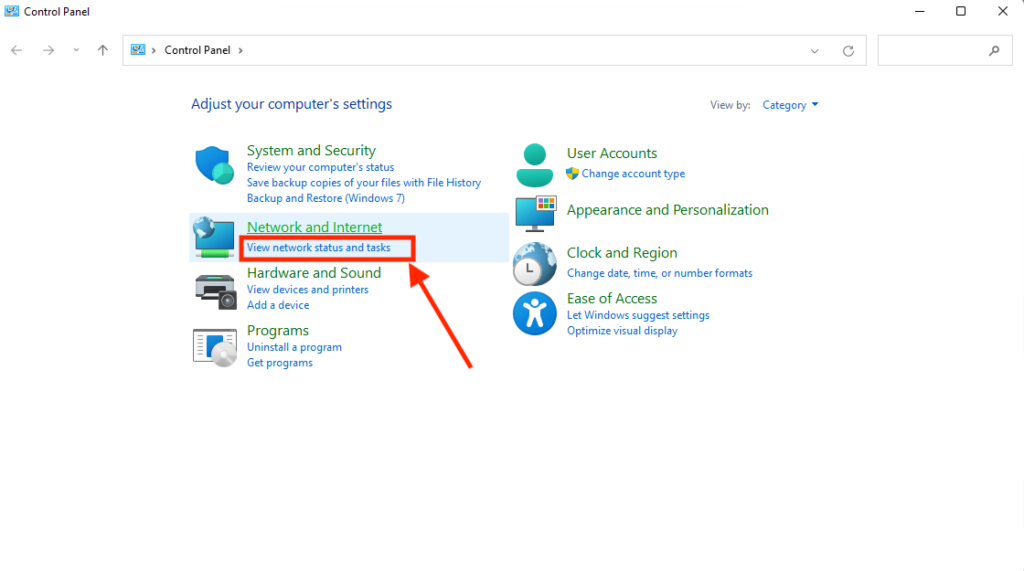
- Click on View network status and tasks in Network and Internet section:
- Click on Set up new connection or network:

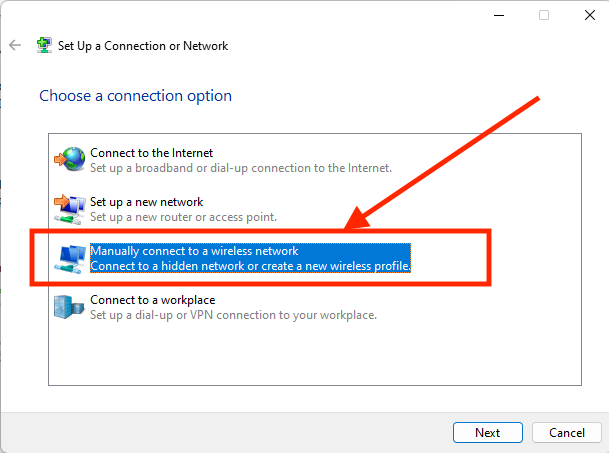
- Click on Manually connect to a wireless network:
- Fill Network name (TechSec) and choose WPA2-Enterprise from Security type as shown on a screenshot below:

- Click on Change connection settings:

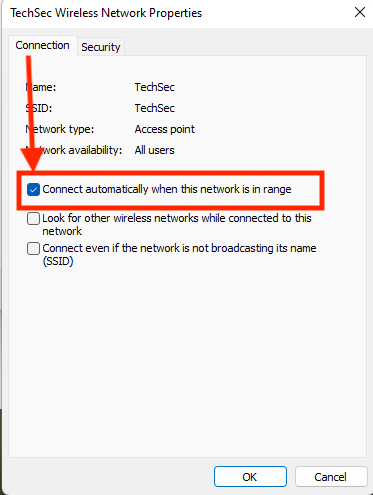
- Mark Connect automatically when this network is in range:
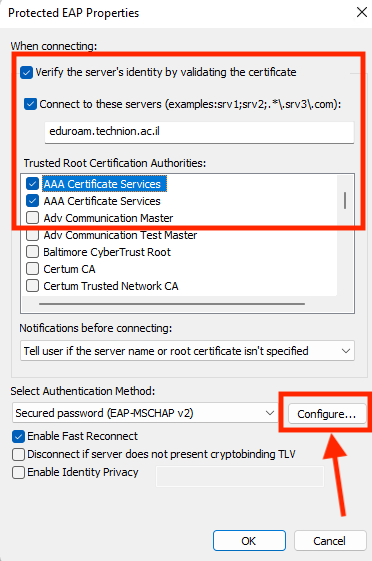
- Choose Security tab, configure as shown on a screenshot below and click Settings:

- Configure as shown on a screenshot below and click Configure…:
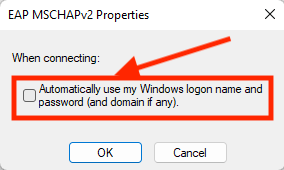
- Remove mark as shown below and then click OK:
- Mark ‘Remember my credentials for the connection …’ and click Advanced settings:

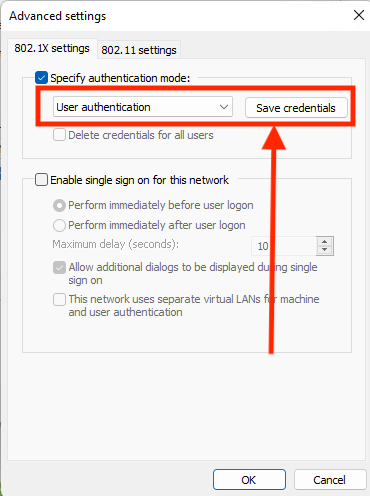
- Choose User authentication from Specify authentication mode menu and click Save credentials:
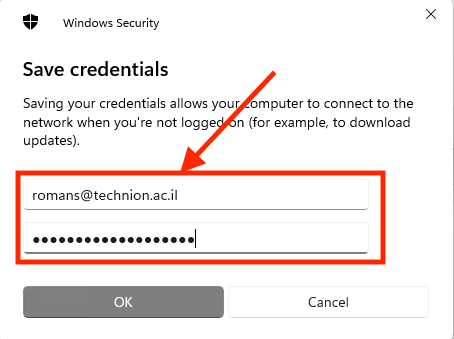
- Enter your Technion credentials and click OK:
- Click OK twice and then Close:

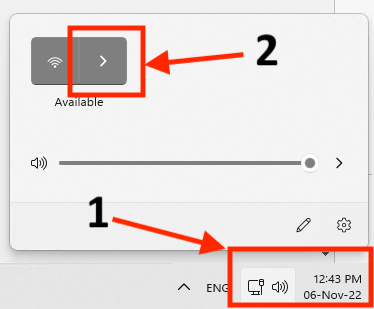
- Click on right bottom network/speaker icon(1) and then on arrow icon(2) as shown below:
- Mark Connect automatically(1)and then click Connect(2):
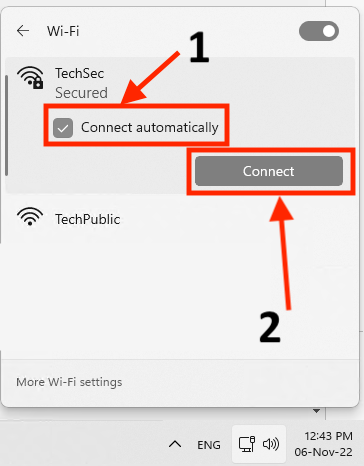
- If your credentials were correct and you did all according to this guide your PC must connect to TechSec without any other questions and warnings:


