Instructions for making the settings on the computer for working in the secure WIFI networks at the Technion
As of October 10th, it will not be possible to connect to the secure wireless networks at the Technion without changing the existing settings, except for the public TechPublic network (which allows limited Internet browsing).
Settings will be made automatically.
To do this, download the automatic installation file from the link below:
http://dl.technion.ac.il/docs/cis/public/techsec/TechSec_Win10.exe.
Here are the guidelines :
- Click “Keep“.

- On the screen that opens, click “Show More“.

On the screen that opens, click “Keep anyway”.

On the next screen, click “More info“.
![]()
On the next screen, click “Run anyway” and not click “Don’t run“.

- On the screen that opens, click “NEXT“

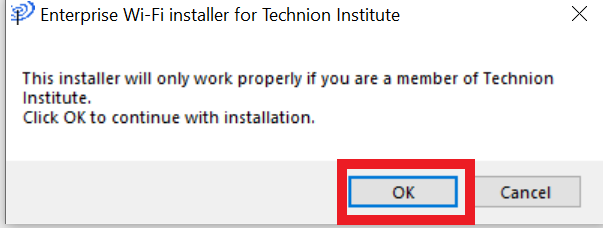
- At this point, a new window will open with a note that the client will only work from within the Technion and that it is not possible to connect to these networks outside the Technion, click “OK“.
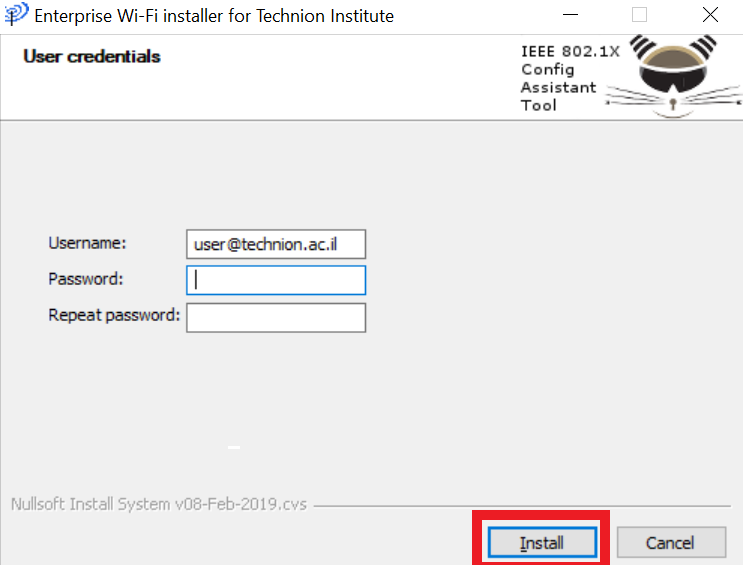
- In the screen that opens, enter your full Technion email and password, at the end of which click “INSTALL“.
- To finish installing, click “FINISH“.

- To connect to the secure network, click on the
 wireless networks icon on your computer and select the desired secure network.